
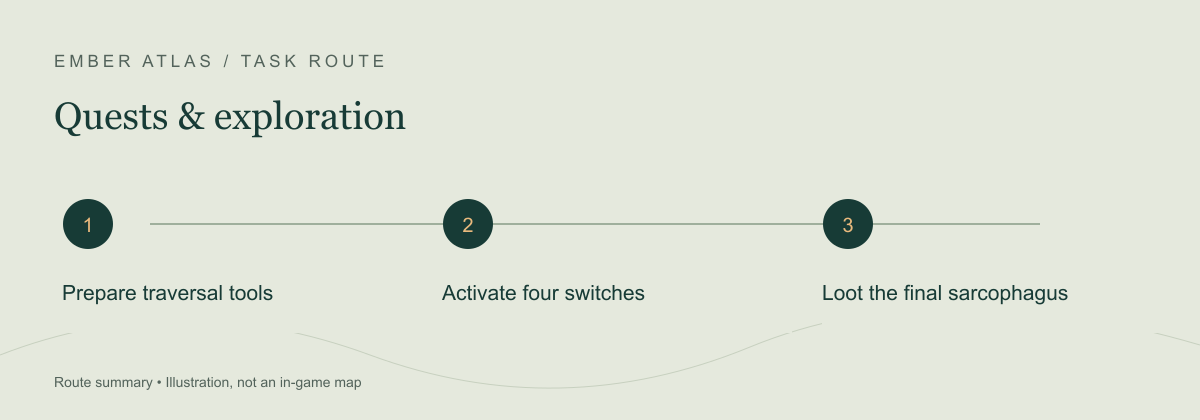
Mistbury Catacombs’ sealed gate opens after four switches are activated. Bring a Grappling Hook, a ranged attack and the movement needed for the upper platforms; after the gate opens, loot the sarcophagus to finish The Queen’s Tomb.[1][2]
Locate the entrance and prepare for the lower floor
The route places the catacombs north of the Hill of Scavengers, with the entrance facing east. The quest may call the destination Queen’s Catacombs while the map names it Mistbury Catacombs; this naming difference does not mean you need a second dungeon.[1]
- Bring a Grappling Hook and Double Jump for the documented upper route.
- Carry a bow, wand or staff for switches out of reach.
- Bring a way through wooden doors and enough Shroud time for the lower floor.
- Use the central causeway facing the sealed gate as your shared reference point; the gate is west in this route.
Take the four-switch route
| Switch | Route from the causeway | Activation |
|---|---|---|
| 1 · South chamber | Turn left/south, descend and open the side gate. Climb through the chamber to the grapple crossing. | Cross to the far side and activate the switch. |
| 2 · Under a torch | Return to the causeway. Double-jump to the wooden platform on the left, follow the broken wall and stairs to an overlook. | Look across and slightly up for the switch below a torch; shoot it. |
| 3 · Northeast lower wall | Return near the antechamber, drop to the Shrouded lower floor and follow the back wall north, avoiding lava. | Find the switch at the northeast corner and use a ranged hit. |
| 4 · Behind the explosive barrel | From switch 3, head west to the opening, grapple up and find the barrel beside mycelium. | Shoot the barrel to expose a passage; follow the stairs to the final switch. |
The fourth route loops back toward the causeway. Treat the lit lock symbols as feedback: activating a switch is confirmed by progress at the gate, not merely by seeing a projectile hit a wall.[1]
Finish the quest, not only the puzzle
- Check that all four symbols are lit and the sealed gate has opened.
- Follow the path beyond it to the tomb.
- Open the sarcophagus and check The Queen’s Tomb objective before leaving.
The sarcophagus contains Pikemead’s Bulwark in the references. This guide does not rely on an old shield-level or stat table; the core task is reaching and opening the quest container.[1][2]
Sources & verification
- AllThingsHow: Mistbury switches ↗ (external site, opens in a new tab) — Written four-switch route, landmarks and quest completion; checked 20 October 2026.
- Gamer Guides: The Queen’s Tomb ↗ (external site, opens in a new tab) — Legacy quest/puzzle reference; do not treat its equipment values as freshly tested 1.0 stats.